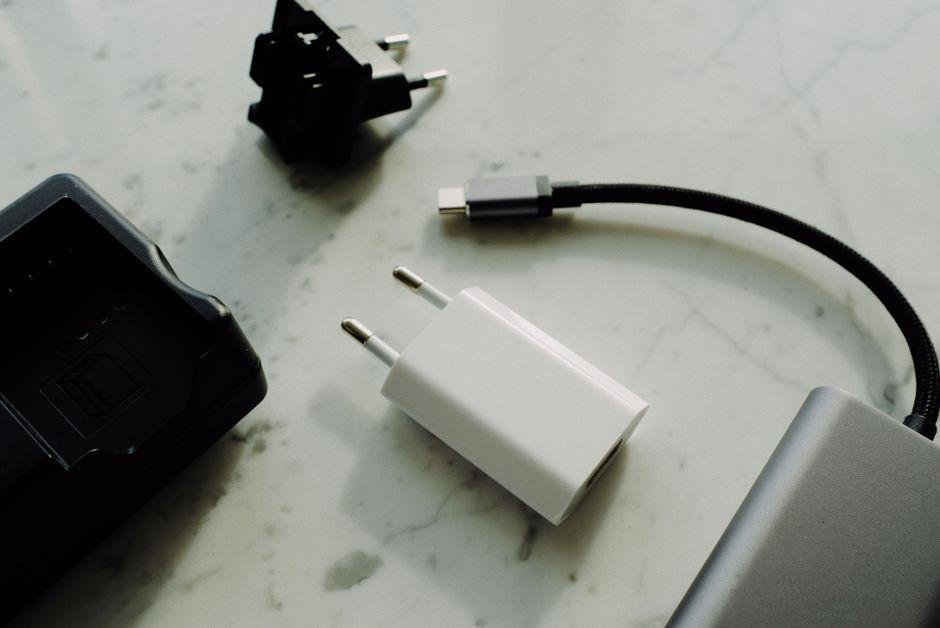
You plug your phone in before bed, but you wake up to a completely black screen. Few everyday tech problems cause more instant panic than a device that refuses to take power. You might assume the battery died permanently, but the real cause is usually far simpler. Most charging failures come from dirty ports, damaged cables, or quick software freezes rather than a broken logic board. Pocket lint frequently packs over the small metal pins, while worn power bricks can stop pushing current without showing outward damage. Before paying for an expensive repair or ordering a brand new handset, you can test a few straightforward fixes right at home. Let us walk through the troubleshooting steps to get your battery power flowing again.
Common Reasons Why Your Phone Isn’t Charging
When a handset stops taking power. The issue usually stems from physical hardware wear or a temporary software lock. Finding the exact problem saves you from buying replacement accessories that you do not actually need.
Here are the most common culprits behind charging failures:
- Lint and pocket debris: Fuzz from your pockets packs into the bottom port over time. This layer blocks the metal pins from making a direct connection with your cable.
- Frayed or split cords: The thin copper strands inside charging wires often snap near the plug joints. Even when the outer rubber coating looks intact, internal tears break the electrical circuit.
- Failing wall adapters: A damaged power brick might deliver irregular electricity or stop working completely. Modern fast charging needs steady digital communication between the brick and your handset before sending full power.
- Software freezes: Mobile operating systems use background services to monitor charging heat and regulate voltage. If that software crashes, the device may block incoming current to protect itself.
- Moisture detection alerts: Modern phones feature safety sensors that halt power delivery if they detect liquid inside the port, preventing short circuits.
Identifying which part failed makes the repair process simple. Most of these problems take only a few minutes to fix with everyday items.
Step-by-Step Guide: How to Fix a Phone That Is Not Charging
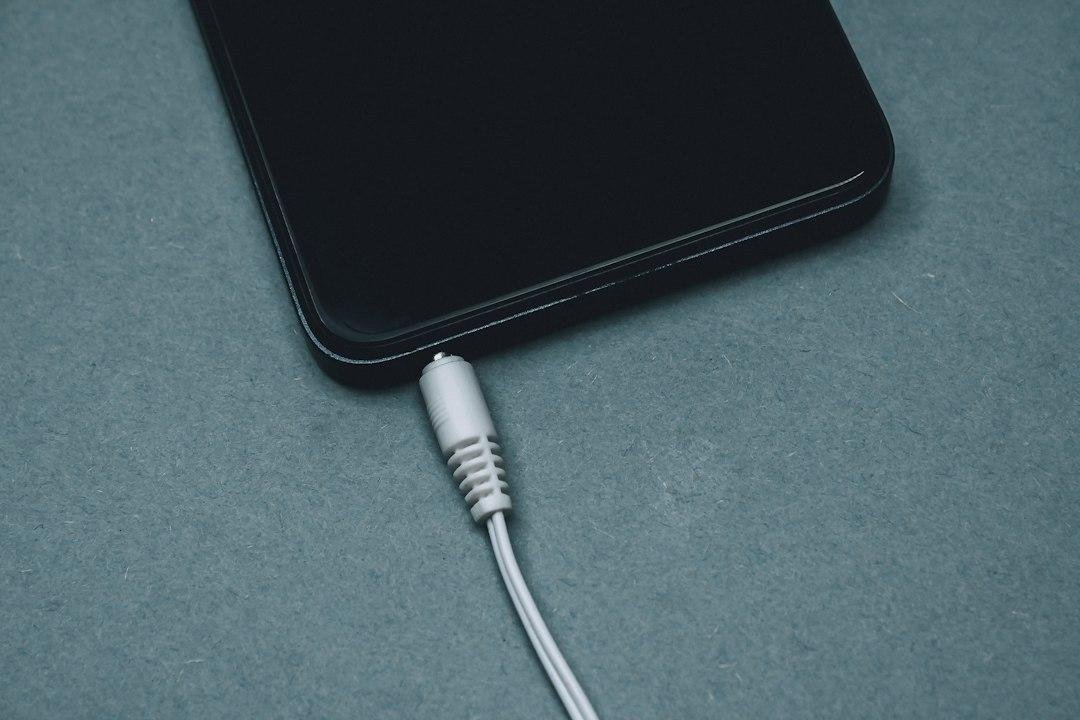
Always rule out easy software glitches before buying replacement hardware. Testing each potential failure point in order helps you solve the issue quickly.
1. Perform a forced restart
A stuck background app can freeze the system tools managing your battery. On Android devices, press and hold the power and volume-down buttons together for about 10 to 15 seconds until the screen reboots. On an iPhone, press and quickly release volume up, press and quickly release volume down, and then hold the side power button until the brand logo appears.
2. Plug directly into a bare wall socket
Power strips, smart plugs, and multi-port hubs can fail without warning. Move your adapter to a known working wall outlet, like one running an active desk lamp.
3. Isolate your charging accessories
Test your gear one piece at a time. First, swap the cord while keeping your original wall plug. If the device remains unresponsive, pair that new cord with a different wall adapter. A reliable replacement power brick typically sells for around $15 to $25 as of October 05, 2026.
4. Clear out the connection port
Shine a flashlight into the socket opening. If you spot packed lint, gently lift it out with a dry wooden toothpick, taking care to avoid bending the contact pins.
5. Try a wireless pad
If your phone supports wireless induction charging, place it on a wireless stand. If the battery takes power, you know the internal cells are healthy and the problem is isolated to your physical port.
Inspecting Your Cable, Adapter, and Power Outlet
Before blaming your phone, inspect the accessories supplying the current. Charging cords experience heavy physical strain from being twisted. Pulled, and packed into tight bags.
Follow these basic steps to find the faulty part:
- Check the cable for physical damage: Run your fingers across the wire to feel for pinched spots or split insulation. Inspect the connector tip under a direct light. If the contact points look scorched or bent, the cable cannot transfer electricity safely.
- Verify the adapter wattage: Wattage measures the total electrical output of your charger. Modern smartphones generally require at least 15 to 20 watts of power to charge quickly. Using an older low-wattage plug may cause the battery level to drop while the screen is on.
- Test the outlet directly: Light switches or tripped breakers can cut power to individual wall sockets. Plug a working lamp into the outlet to confirm it has live electricity. Avoid low-power USB slots on laptops or unpowered desktop hubs.
Swap one item at a time so you know exactly which component failed. This method prevents unnecessary spending on gear you do not need.
Troubleshooting Methods Comparison Matrix
When your mobile device refuses to draw power, testing the simplest fixes first saves both time and money. Below is a quick comparison of the most common ways to resolve power issues. Ranked by effort, typical expense, and overall effectiveness.
| Troubleshooting Method | Primary Cause It Solves | Time Needed | Estimated Cost | Skill Level |
|---|---|---|---|---|
| Clean the Port | Pocket lint, dirt, or debris blocking the pins | 2-5 minutes | Free (use a wooden toothpick) | Beginner |
| Swap Cable and Adapter | Bent internal wires, failed wall plugs, or weak power bricks | 1-2 minutes | Around $10-$25 (prices as of October 05, 2026) | Beginner |
| Force Restart the Device | Frozen system software or background battery glitches | 1-3 minutes | Free | Beginner |
| Use a Wireless Charging Pad | Damaged physical port pins or loose connector housings | Instant | Around $15-$35 (prices as of October 05, 2026) | Beginner |
| Professional Hardware Repair | Worn-out internal battery or broken charging board | 1-2 days | Often $50-$120 (prices as of October 05, 2026) | Expert |
How to Safely Clean the Charging Port
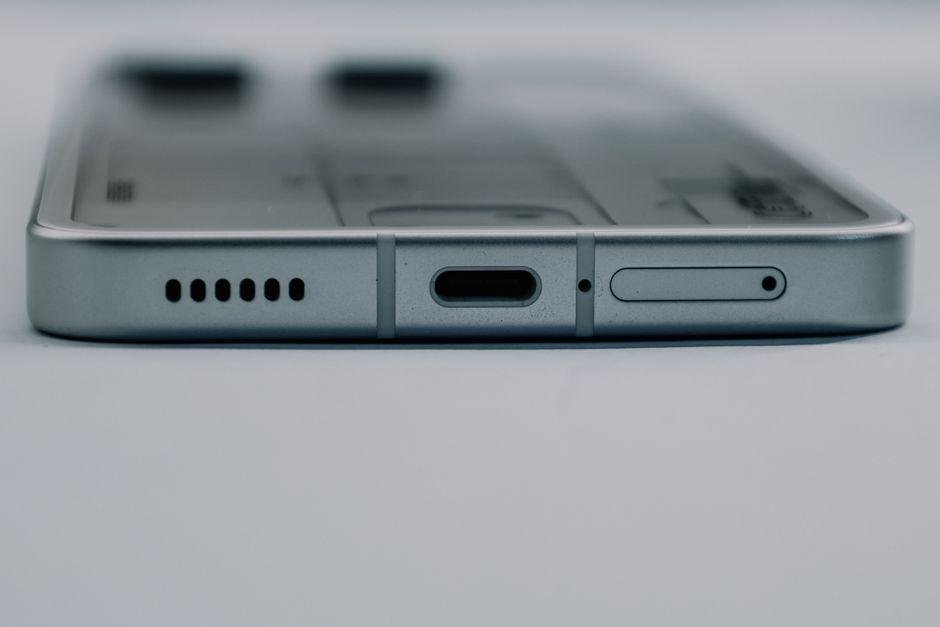
Pocket lint, dust, and crumbs frequently collect inside the bottom socket of modern smartphones. Every time you insert a cord, that dirt gets pushed deeper into the cavity. Over time, the packed debris stops the pins from making full contact, which stops fast charging from working on your handset.
In my experience with hardware repairs, metal tools cause far more harm than good inside charging ports. A sewing needle or safety pin can bend the delicate contacts or cause an electrical short. You can clean the cavity safely using basic household tools.
- Turn off the power: Shut down your phone completely before inserting any object into the opening to avoid accidental electrical shorts.
- Use bright light: Shine a direct flashlight inside so you can clearly see the debris and avoid the sensitive connector pins. USB-C sockets have a thin tab in the center, while Lightning ports have pins lined along the bottom.
- Gently scrape with wood or plastic: Take a flat wooden toothpick or a plastic dental pick. Carefully insert it along the edges and bottom of the cavity, sweeping outward to pull the packed lint free without scraping the central connector tab.
- Clear loose dust with air: Apply short, controlled bursts from a can of compressed air. Keep the can upright to prevent liquid propellant from spraying onto the contacts.
Once you clear out the grime, reconnect your cord. If dirt was the hidden culprit that blocked electrical current. Your device will start drawing power immediately.
Software Fixes: Force Restarts, Safe Mode, and OS Updates
Modern handsets rely on firmware to manage charge rates and monitor temperature. If a software error crashes these controllers. Your device will reject incoming power even when connected to a functioning charger.
A force restart refreshes the power management system without wiping your photos or messages:
- Apple handsets: Quickly click Volume Up, quickly click Volume Down, then hold the side button until the display shows the Apple logo.
- Android handsets: Hold the Power button and Volume Down button at the same time for 10-15 seconds until the device vibrates and restarts.
If a simple restart fails, boot your Android phone into Safe Mode. Safe Mode is a troubleshooting environment that disables all downloaded third-party applications. To enter Safe Mode, hold the physical power button, then long-press the on-screen Power Off icon until the reboot prompt appears. If the battery charges normally in this state, an app you downloaded recently is triggering the fault.
Finally, install any pending software updates. Phone makers regularly roll out bug fixes that solve battery management glitches and improve charging performance. Open your settings menu, connect to Wi-Fi, and install the newest operating system build available.
Frequently Asked Questions
Can pocket lint stop my phone from charging?
Yes, dust and compacted lint inside the port often block the metal pins from making a clean connection. You can carefully scrape the inside using a dry wooden toothpick or a quick blast of compressed air.
How can I tell if the cable or the wall brick is broken?
The easiest test is to isolate each piece one at a time. Connect your current cord to a different wall adapter, or plug a different gadget into the same setup to spot the weak link. If your handset powers up normally on a friend’s gear, you know which accessory is failing.
Why is my battery draining even while it says that power is connected?
This typically happens when an old adapter outputs less power than active background apps and bright screens consume. Damaged cords also struggle to carry a stable current, leading to slow or reverse power flow. Upgrading to a certified fast charger will usually fix this issue quickly.
Will a wireless pad work if the charging port is broken?
Wireless pads rely on internal copper coils on the back panel rather than the bottom port, bypassing physical connector damage entirely. As long as your model includes wireless power support, this offers a reliable way to keep your battery full until you get a fix. Check the manufacturer’s site to confirm wireless compatibility for your specific model.
When should I take the device to a repair shop?
You should seek professional help if swapping cords, cleaning out lint, and forced restarts leave the battery totally unresponsive. A repair visit is also necessary if the port area feels dangerously hot to the touch or smells burnt. You can confirm current pricing for official port replacements on the manufacturer’s support page.
Final Thoughts and Repair Options
If you swapped cords, rebooted the operating system, and cleared out debris without success, you cannot fix the issue with basic home remedies. A phone that is not charging after these tests usually suffers from a dead battery cell or broken solder joints on the internal connection board. Continuing to force bent cables into the socket risks shorting out other sensitive parts inside.
One thing worth mentioning is how often a quick warranty check saves money before scheduling paid repair work. Standard manufacturer coverage usually lasts 12 months, and premium carrier protection plans can cut your out-of-pocket costs significantly. Check your coverage status on the maker’s support portal before you pay for any service.
When you are ready to move forward, you have two primary routes:
- Authorized repair centers: Certified technicians use genuine factory components. This preserves proper water resistance seals and ensures your system software reads battery health correctly. An official battery replacement typically runs around $70 to $110 as of October 05, 2026.
- Independent repair shops: Local technicians often replace a damaged socket quickly and charge less for older models. However, they may rely on aftermarket parts that lack original safety ratings.
If repair estimates exceed half the value of your device. Consider upgrading instead. Confirm current pricing on the manufacturer’s site to compare repair quotes against a brand-new handset.